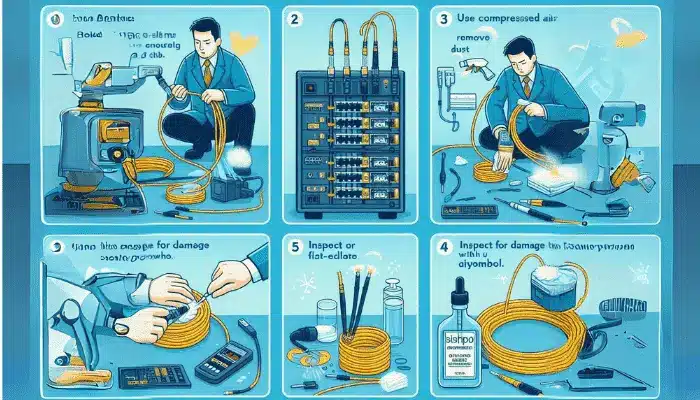
As a maintenance engineer, I understand the importance of keeping all systems running smoothly, even those outside my typical wheelhouse. Fiber optic cables, while sometimes overlooked in industrial settings, are increasingly vital for reliable data transfer.
Dirty fiber connections can lead to everything from intermittent equipment faults to costly network downtime. Let’s dive into the best ways to clean these delicate components and ensure your systems stay up and running.
Key Takeaways
- Fiber optic cleaning is essential for network reliability and performance.
- Different cleaning techniques (dry vs. wet) are suitable for varying scenarios.
- Connector type influences the specific cleaning approach.
- Safety measures must be observed when handling cleaning solvents and delicate fiber optic components.
How to Clean Fiber Optic Cable
Dirty fiber optic connectors are a leading cause of network problems – from slow speeds to total outages. Contaminants like dust, oil, and even fingerprints can block the transmission of light, causing signal degradation. This comprehensive guide will teach you all the essential techniques to keep your fiber connections clean.
Introduction to Fiber Optic Cleaning
A clean fiber optic link is critical. Contamination, no matter how microscopic, creates a barrier, hindering the light signal. This can result in:
- Reduced signal strength
- Intermittent connectivity
- Complete signal loss
- Potential damage to connectors (in extreme cases)
Regular cleaning and inspection are a must for any network relying on fiber optics.
Essential Cleaning Supplies
Before you begin, gather these key items:
Cleaning Fluids:
- Isopropyl Alcohol (IPA): 99% or higher purity is best.
- Specialized Cleaning Solvents: Available for tough residues
- Wipes & Swabs:
- Lint-free wipes: Soft and non-abrasive
- Fiber optic cleaning swabs: Sized for specific connector types
- Cleaning Kits: Convenient pre-packaged options
- Compressed Air: Canisters or air dusters for initial debris removal
- Safety Gear:
- Gloves: Nitrile or latex
- Eye Protection: Safety glasses, especially when using solvents
Dry Cleaning Techniques
Dry cleaning is often the first step and may be enough for minor contamination. Here’s what you need to know:
- One-click Cleaners: Handy tools for end-face cleaning on common connectors. Insert the connector, activate, and it cleans the ferrule.
- Compressed Air: Use bursts of air to dislodge loose dust and particles. Be mindful of the potential for propelling contaminants deeper if not carefully used.

When Dry Cleaning is Sufficient
- Light dust contamination
- Pre-inspection cleaning before wet cleaning
Wet Cleaning Techniques
Wet cleaning involves a solvent to dissolve stubborn contaminants. Follow these steps carefully:
- Apply Solvent: Put a few drops of IPA(Isopropyl Alcohol) or specialized cleaner onto a lint-free wipe. Never apply solvent directly to the connector.
- Wipe the Ferrule: Gently wipe the connector end-face in one direction.
- Dry Immediately: Use a dry section of the wipe or a fresh one to remove any residual solvent.
- Inspect: Use a fiber inspection scope to ensure thorough cleaning.
Cleaning Different Connector Types
Connector design impacts your cleaning approach. Here’s a quick guide to the most common types:
| Connector Type | Visual Example | Cleaning Notes |
|---|---|---|
| LC |  | Small form factor, push-pull mechanism |
| SC |  | Square shape, push-pull mechanism |
| FC |  | Threaded for secure connections |
| ST |  | Bayonet-style coupling |
Troubleshooting Common Cleaning Problems
Even with careful cleaning, you might encounter these issues:
- Stubborn Residues: Switch to a specialized cleaning solvent or try a cleaning stick designed for your connector type.
- Lint: Ensure wipes and swabs are truly lint-free.
- Scratched Ferrule: Prevention is key. Never clean dry, and avoid over-cleaning.
Advanced Techniques To Clean Fiber Optic Cables
Sometimes, basic cleaning methods aren’t enough. Here are more advanced techniques for specific situations:
- Angled Physical Contact (APC) Connectors: These have angled ferrules (8-degree is typical) which requires specialized cleaning tools to avoid damage.
- Harsh Environments: Outdoor fiber installations may need more robust cleaning solutions designed for removing grime, moisture, or other environmental contaminants.
- Mechanical Cleaning Tools: For heavily soiled connectors, specialized cleaning sticks or automated cleaning machines might be necessary.

Safety Considerations when Cleaning Fiber Optics
Working with fiber optics requires attention to safety. Here’s what to keep in mind:
- Solvents: Isopropyl alcohol is flammable – use in well-ventilated areas. If using other solvents, check their safety data sheets and wear appropriate PPE.
- Fiber Shards: Broken fiber pieces are incredibly sharp. Handle with care and dispose of properly in a designated sharps container.
- Never Look Directly into Fiber: The laser light used in fiber optics can cause eye damage. Never look directly into a connector or active fiber cable.
Maintaining a Clean Fiber Network
By following these guidelines and implementing a regular cleaning routine, you’ll significantly optimize the performance and reliability of your fiber optic network. Remember, clean connections are crucial for a clear signal.
Frequently Asked Questions (FAQs)
Let’s address some common questions about fiber optic cleaning:
How often should I clean fiber optic connectors?
A proactive approach is best. Clean connectorsefore every connection, When inspecting for troubleshooting. On a regular maintenance schedule based on your environment
Can I use regular alcohol wipes to clean fiber optics?
No. Household alcohol wipes often leave behind residue that’s harmful to optical connections. Stick to 99%+ IPA or specialized fiber cleaning solutions.
Is it okay to reuse cleaning wipes or swabs?
Absolutely not. Reusing wipes risks transferring contaminants between connectors. Always use fresh materials.
My connector still seems dirty after cleaning. What can I do?
You might need a stronger solvent, a different cleaning technique, or a closer inspection for damage to the ferrule itself.
